DIY Faucet Valve Seat Replacement Guide
Believe it or not, a leaky fixture can pour out over 3,000 gallons of water each year! It’s enough to top off a small pool! Fixing worn-out components saves money and conserves water—no plumbing experience needed.
We’ve simplified the repair process. Armed with tools and parts from Installation Parts Supply, you’ll fix drips quickly. Avoid expensive service calls and live leak-free with seat washer faucet.
Use our detailed steps for a hassle-free repair. Top-grade parts deliver durability and boost your DIY confidence.
Key Takeaways
- Drips spike water costs—simple repairs save both water and money.
- DIY repairs save money compared to hiring a professional.
- Durable components from reliable sources last longer.
- Simple tools and clear steps make the process beginner-friendly.
- Regular maintenance extends the life of your fixtures.
Why You Should Replace Worn Valve Seats
One small drip can quickly turn into a costly problem. Worn components in your plumbing waste water, hike up bills, and risk damage to your home. Early repairs cut costs and maintain smooth operation.
How to Identify a Bad Valve Seat
Look out for:
- Dripping water even when the handle is tight.
- Uneven flow or sudden spurts.
- Rust or pits on the valve seat area.
A dripping kitchen faucet spoils dishes and stains sinks. Timely action prevents bigger headaches.
How Damage Leads to Leaks
Mineral deposits and constant friction wear down parts over time. Microscopic cracks let water leak through. Left unchecked, valve seat corrosion can ruin the entire fixture.
Trust Installation Parts Supply for durable replacements. Their components fend off scale and maintain a solid seal.
Quick leaking faucet repair protects your home and conserves water—up to 3,000 gallons yearly!
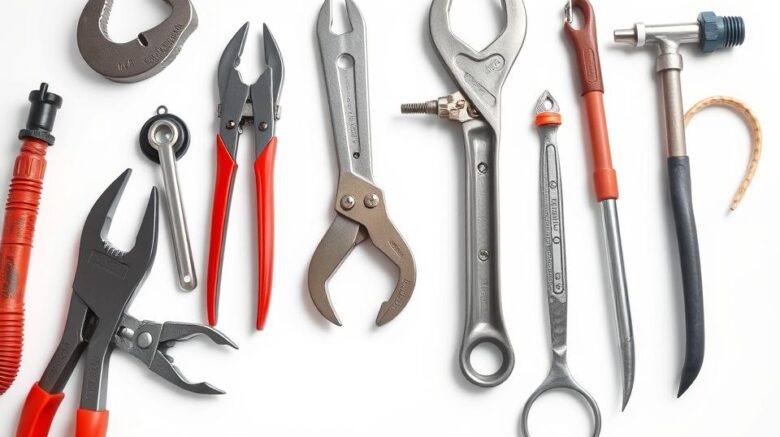
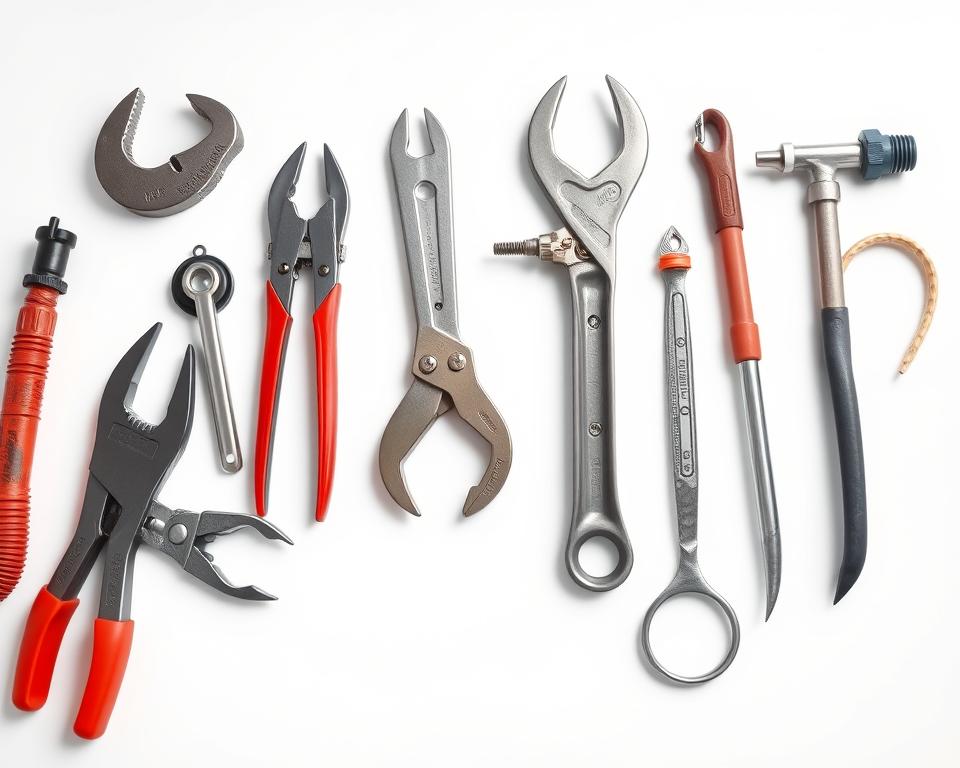
What You Need
Quality tools and parts ensure a leak-free fix that lasts. Whether you’re tackling a minor drip or a stubborn leak, the right supplies save time and hassle. Here’s what to gather before you start.
Must-Have Tools for Valve Seat Replacement
Your minimal toolset:
- Adjustable wrench for nuts and fittings.
- Seat wrench: Removes worn seats efficiently.
- Screwdriver set: For handle and cartridge screws.
- Pliers: Grips small components securely.
For corroded housings, a seat grinding tool restores smooth surfaces. Stock a faucet repair kit that includes seats, washers, O-rings.
Where to Buy Quality Parts
Skip generic parts that wear out quickly. Installation Parts Supply offers durable, compatible components nationwide. Each kit comes complete with seals and tech support.
| Must-Haves | Extras |
|---|---|
| Adjustable wrench | Valve-seat grinder |
| Seat wrench | Heat source |
| Repair kit | Pipe cutter |
Spending on quality gear is worth it. You’ll dodge future leaks and live leak-free.
Valve Seat Replacement Steps
End water waste with this easy DIY repair anyone can do. No matter your skill level, follow these for success. Gather your tools and let’s get started.
Step 1: Shut Off Water and Disassemble the Fixture
Find and close the shutoff valves beneath your sink. Run the tap briefly to clear water out. Use a screwdriver to remove the handle, then unscrew the retaining nut with an adjustable wrench.
Pro Tip: Label parts with tape to simplify reassembly. Consider Installation Parts Supply’s rust-resistant nuts for longevity.
Step 2: Extract the Worn Seat
Examine the parts for rust and scale. Fit a seat wrench into the worn component and turn counterclockwise. Loosen tough seats with oil—wait about ten minutes then try again.
| Typical Issues | Fixes |
|---|---|
| Seized seat | Apply gentle heat or locking pliers |
| Stripped threads | Replace the entire housing |
Step 3: Install the New Valve Seat
Brush off debris from the threads. Align the new seat (*replace valve seat* from *Installation Parts Supply*) and hand-tighten first. Finish with the wrench, but avoid over-tightening to prevent cross-threading.
Step 4: Reassemble and Test for Leaks
Reassemble parts in the opposite sequence. Restore water flow slowly. Watch for any leaks—snug fittings a bit more if needed. Nailing this DIY faucet repair keeps your bills low!
The Final Word
Enjoy peace of mind with sturdy, leak-free plumbing. Fixing worn parts early saves water, cuts bills, and prevents costly damage.
Follow these directions and you’ll succeed on your first try. Installation Parts Supply parts deliver longevity and leak protection.
Incorporate these maintenance habits: yearly washer checks and tightening loose parts. Minor upkeep goes a long way in avoiding future headaches.
Ready to put your skills to work? Grab your tools, follow the steps, and enjoy a drip-free home today!